


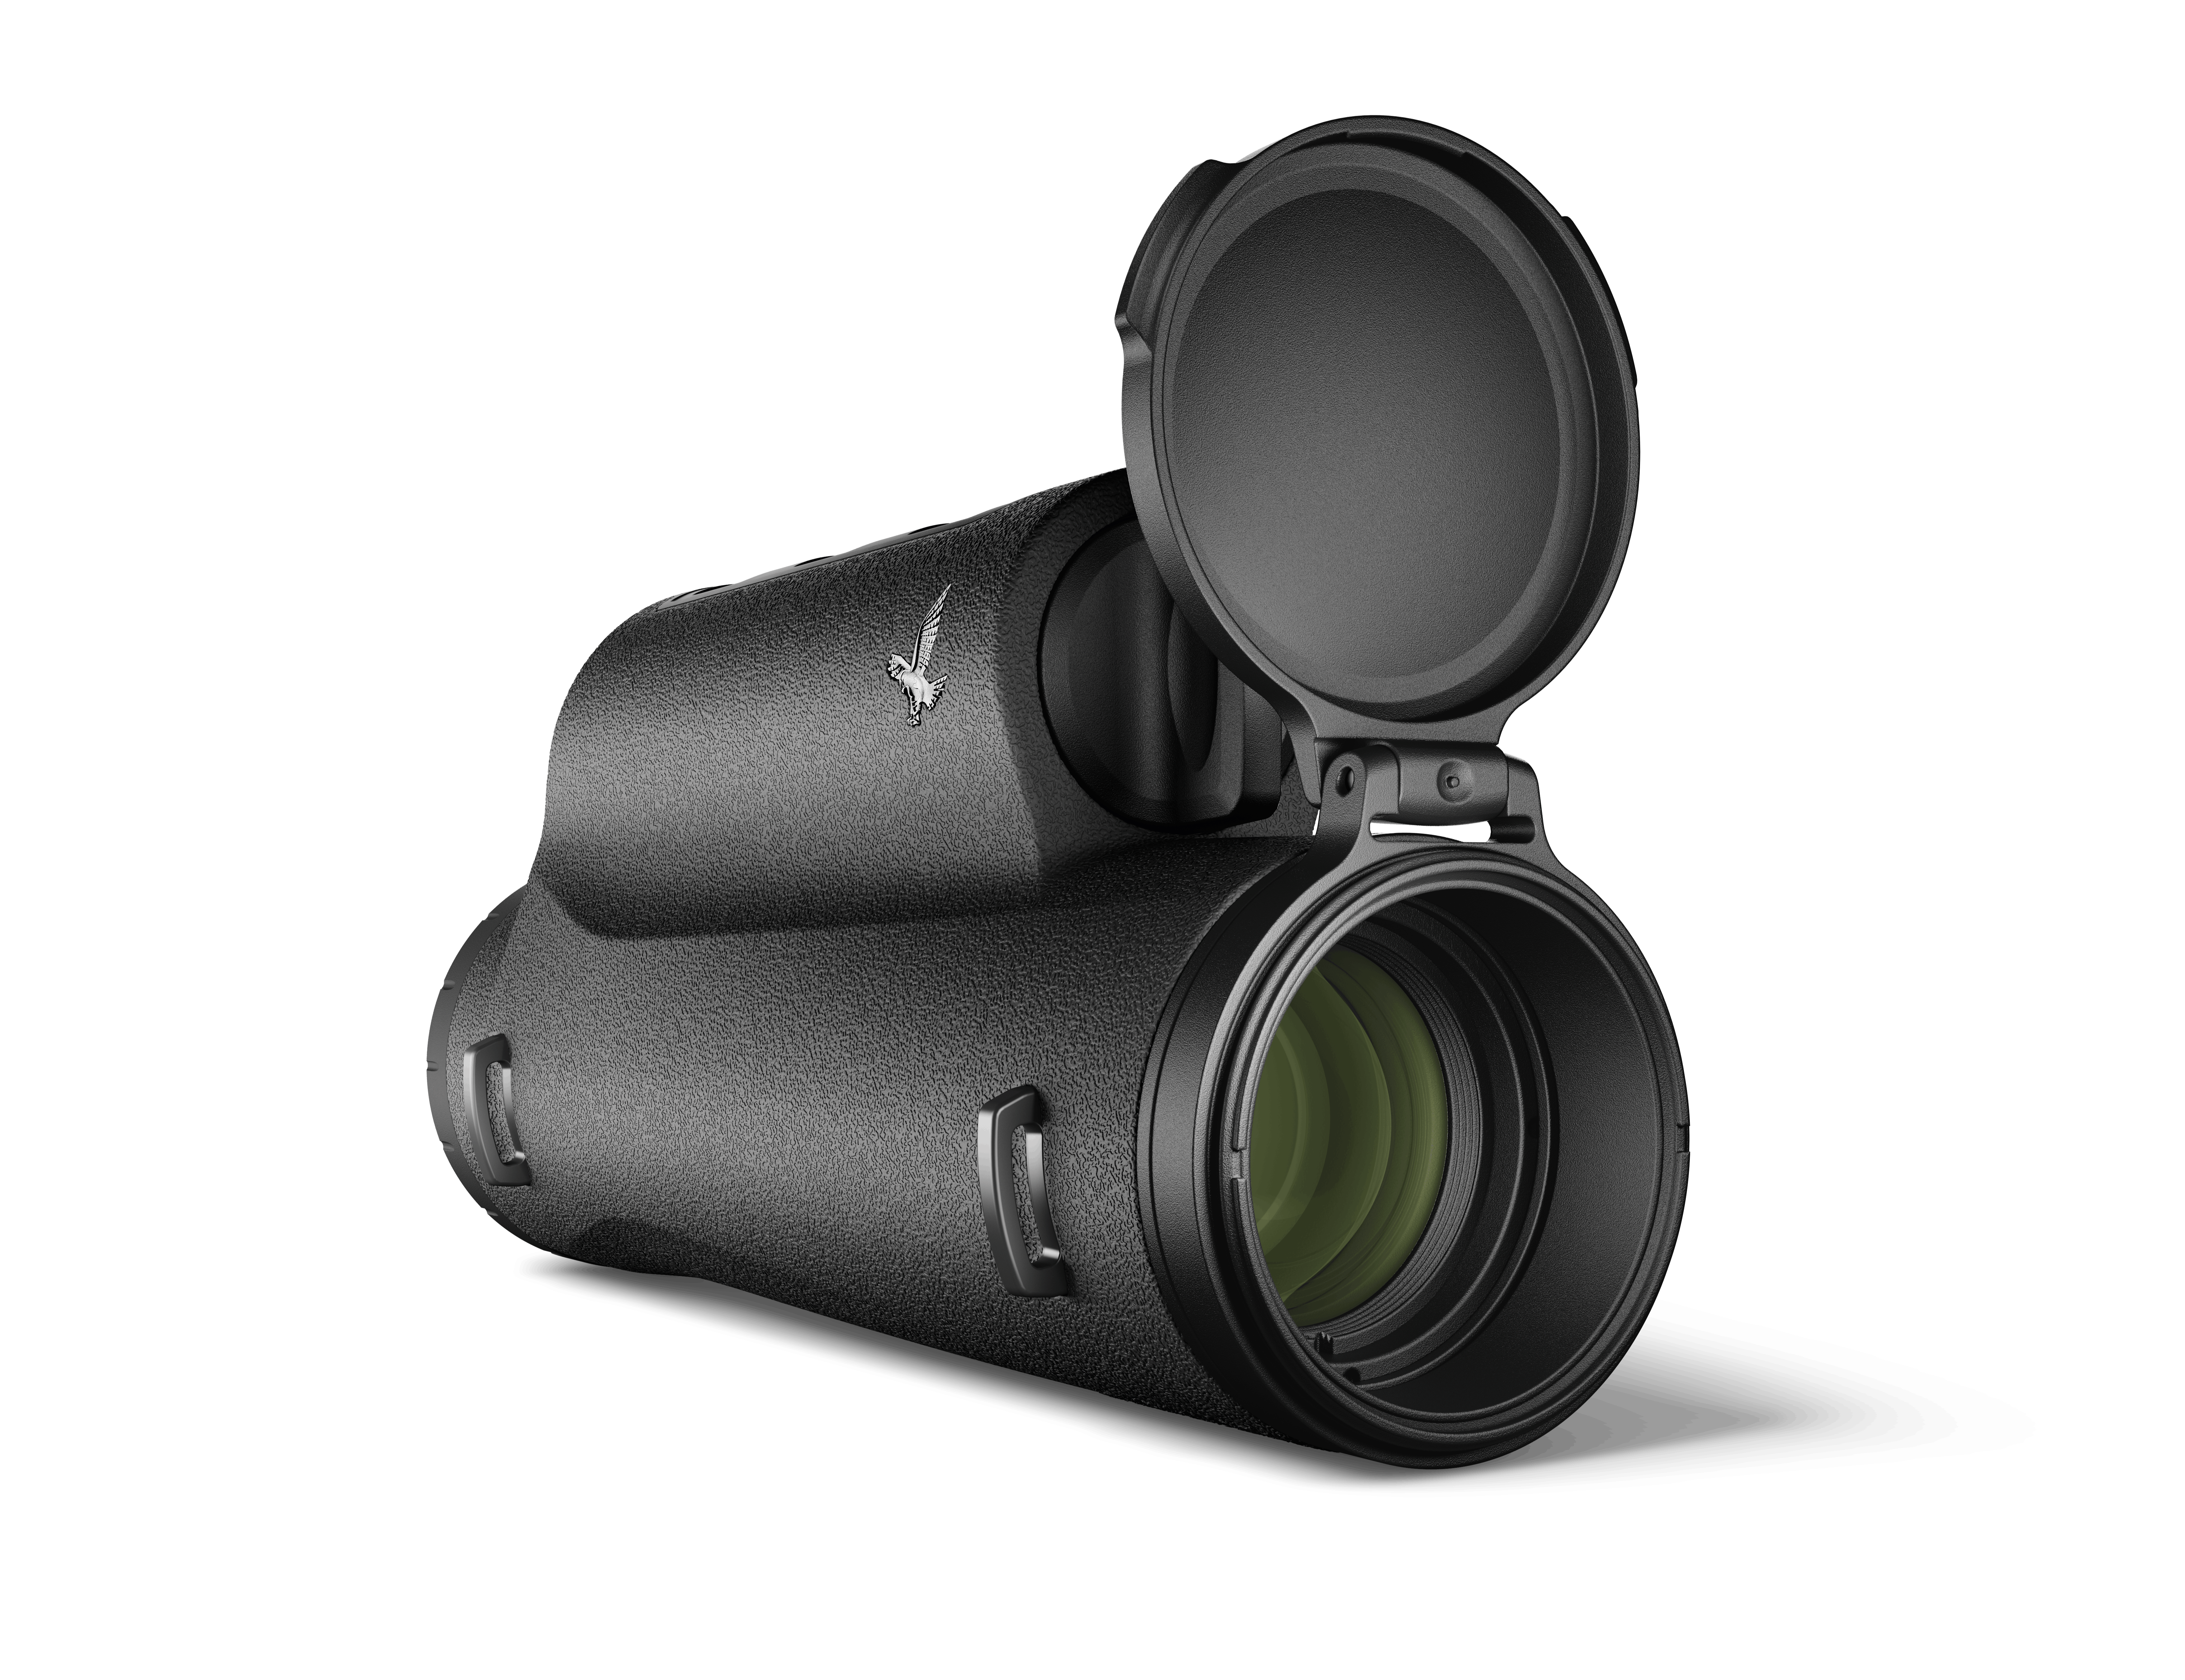

Beyond seeing
AX Visio
The AX Visio is the perfect symbiosis of digital intelligence and high-performance sport optics.


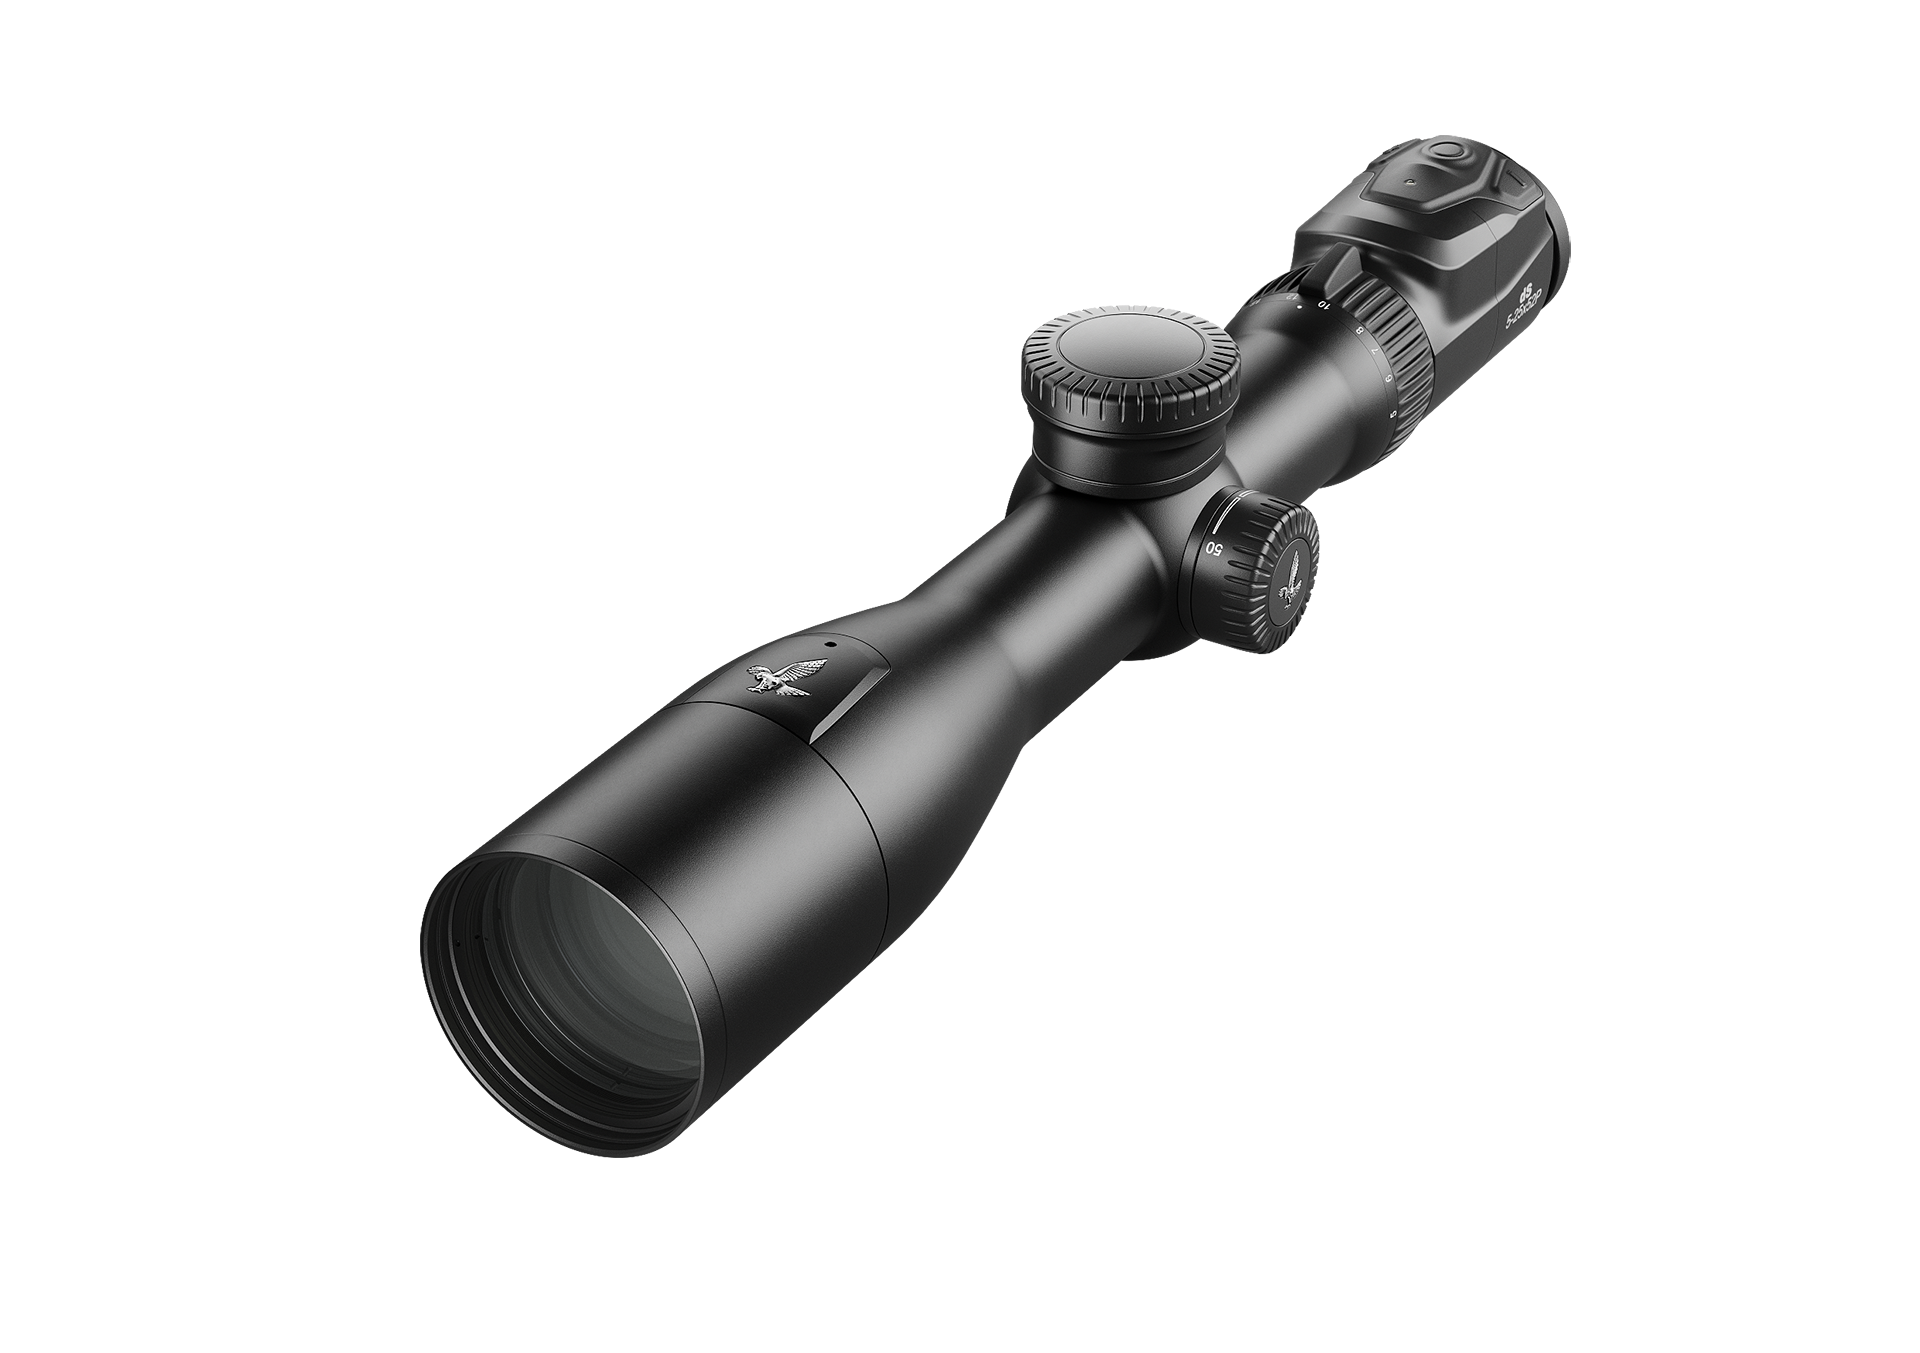
THE NEW Z8i+ DRIVEN HUNT RIFLE SCOPES
Z8i+
Enjoy all the benefits of the Z8i+ with a large, comfortable eyebox for particularly fast sighting. A short zoom rotation of 160° and the ergonomic TL+ throw lever in black and orange add the finishing touches to the sophisticated design of this complete package.


WELCOME NATURE LOVERS
The world’s first SWAROVSKI OPTIK Store
SWAROVSKI OPTIK wants to inspire people to love and care for nature. Only those who look closely and consciously appreciate the moment can recognize the beauty of nature around us and the need to protect it. Experience our brand and our convictions for yourself: in the world’s first SWAROVSKI OPTIK Store. Chat with us and try out our latest products.

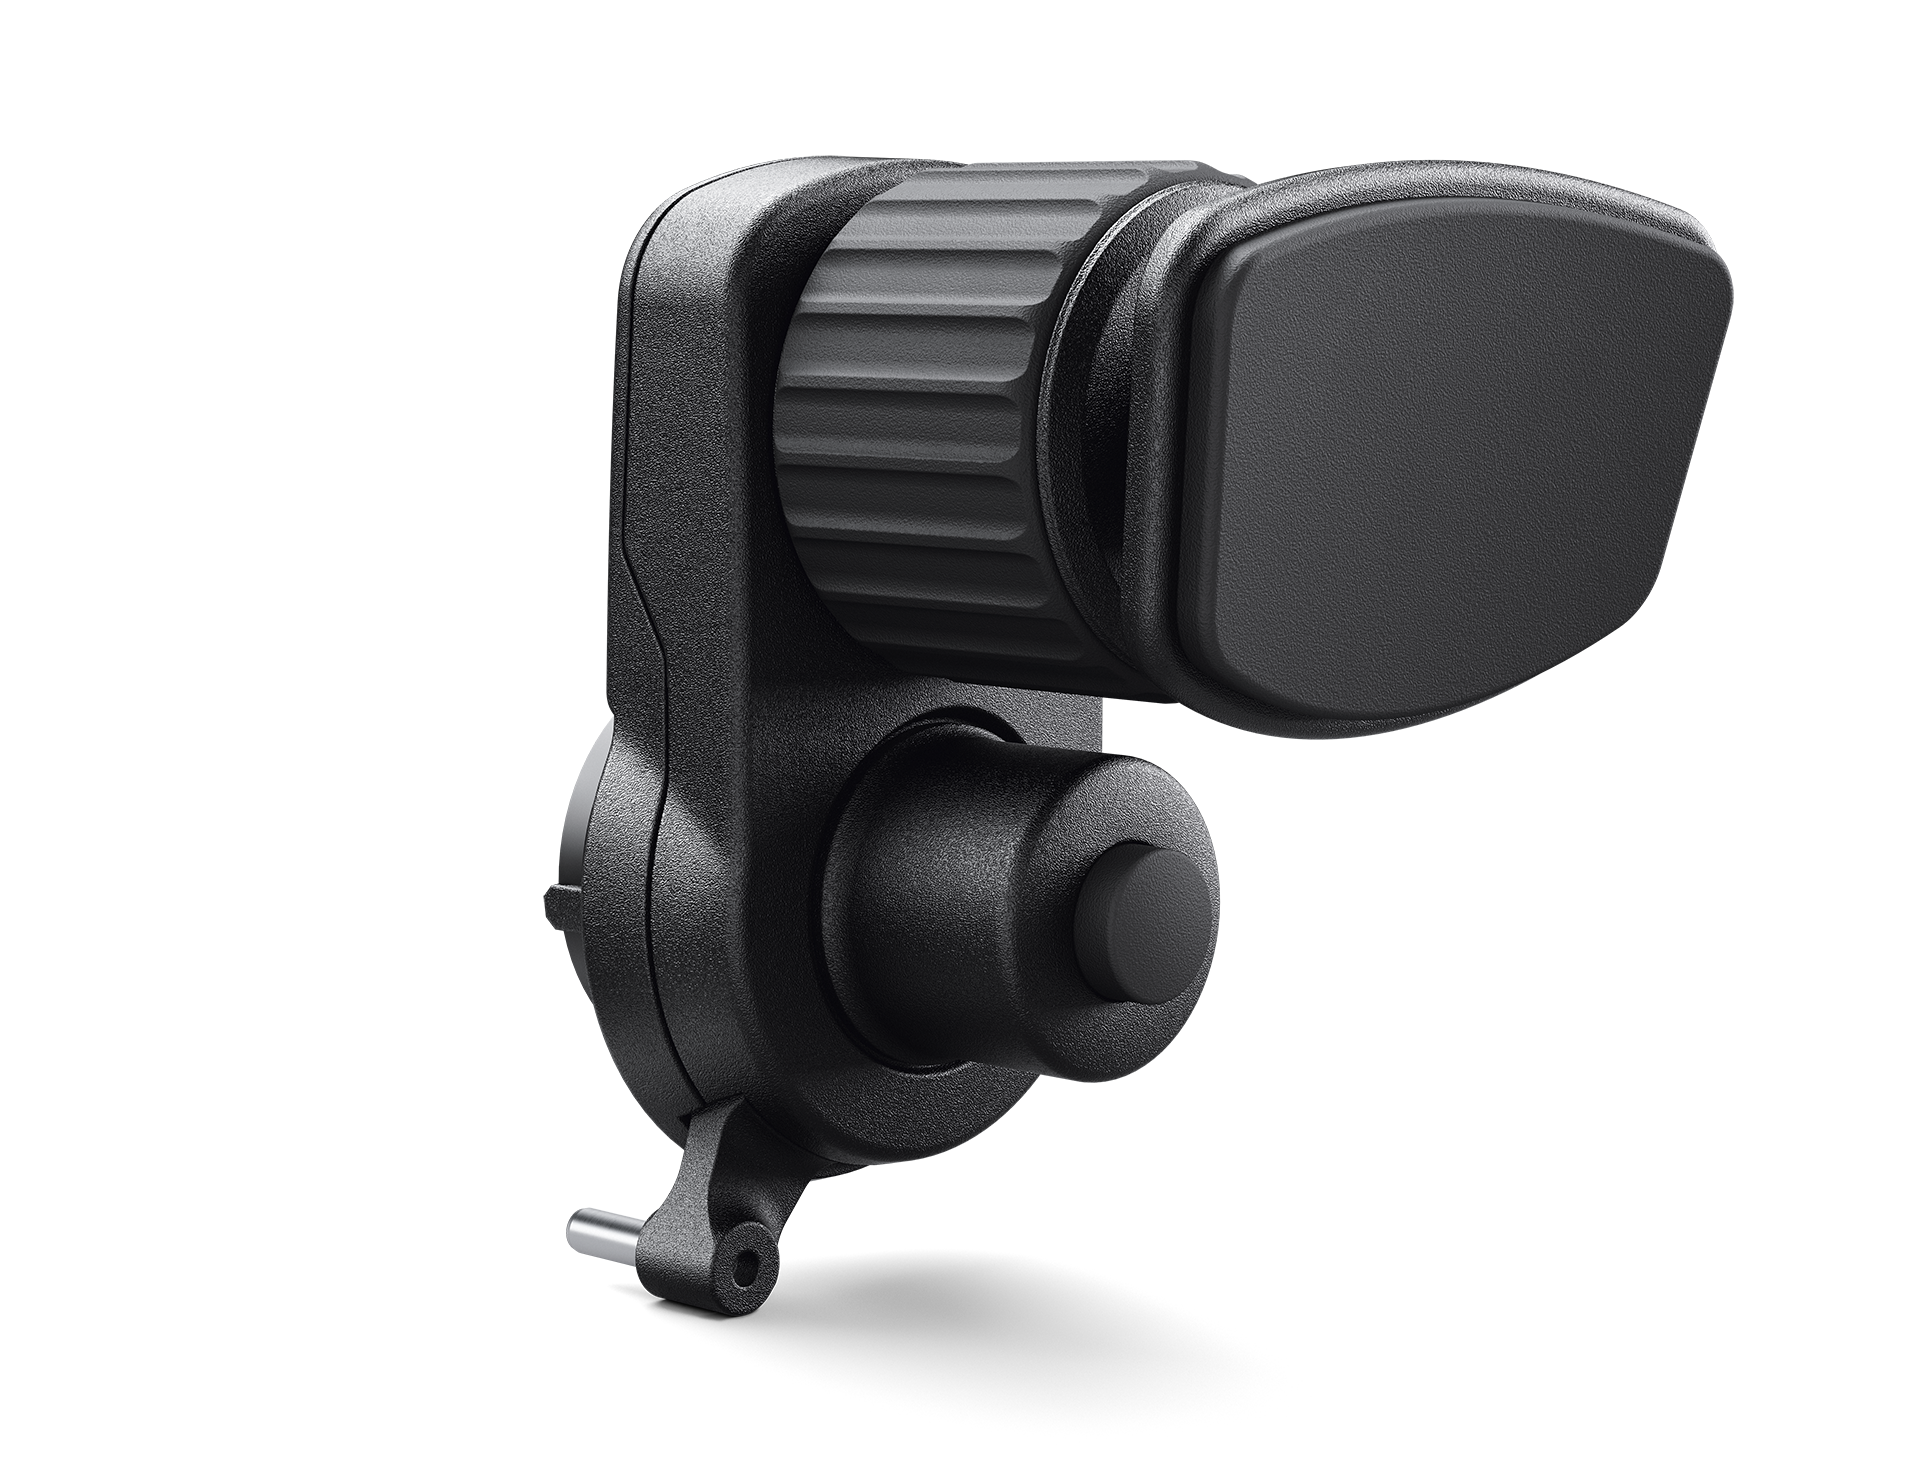
VPA 2
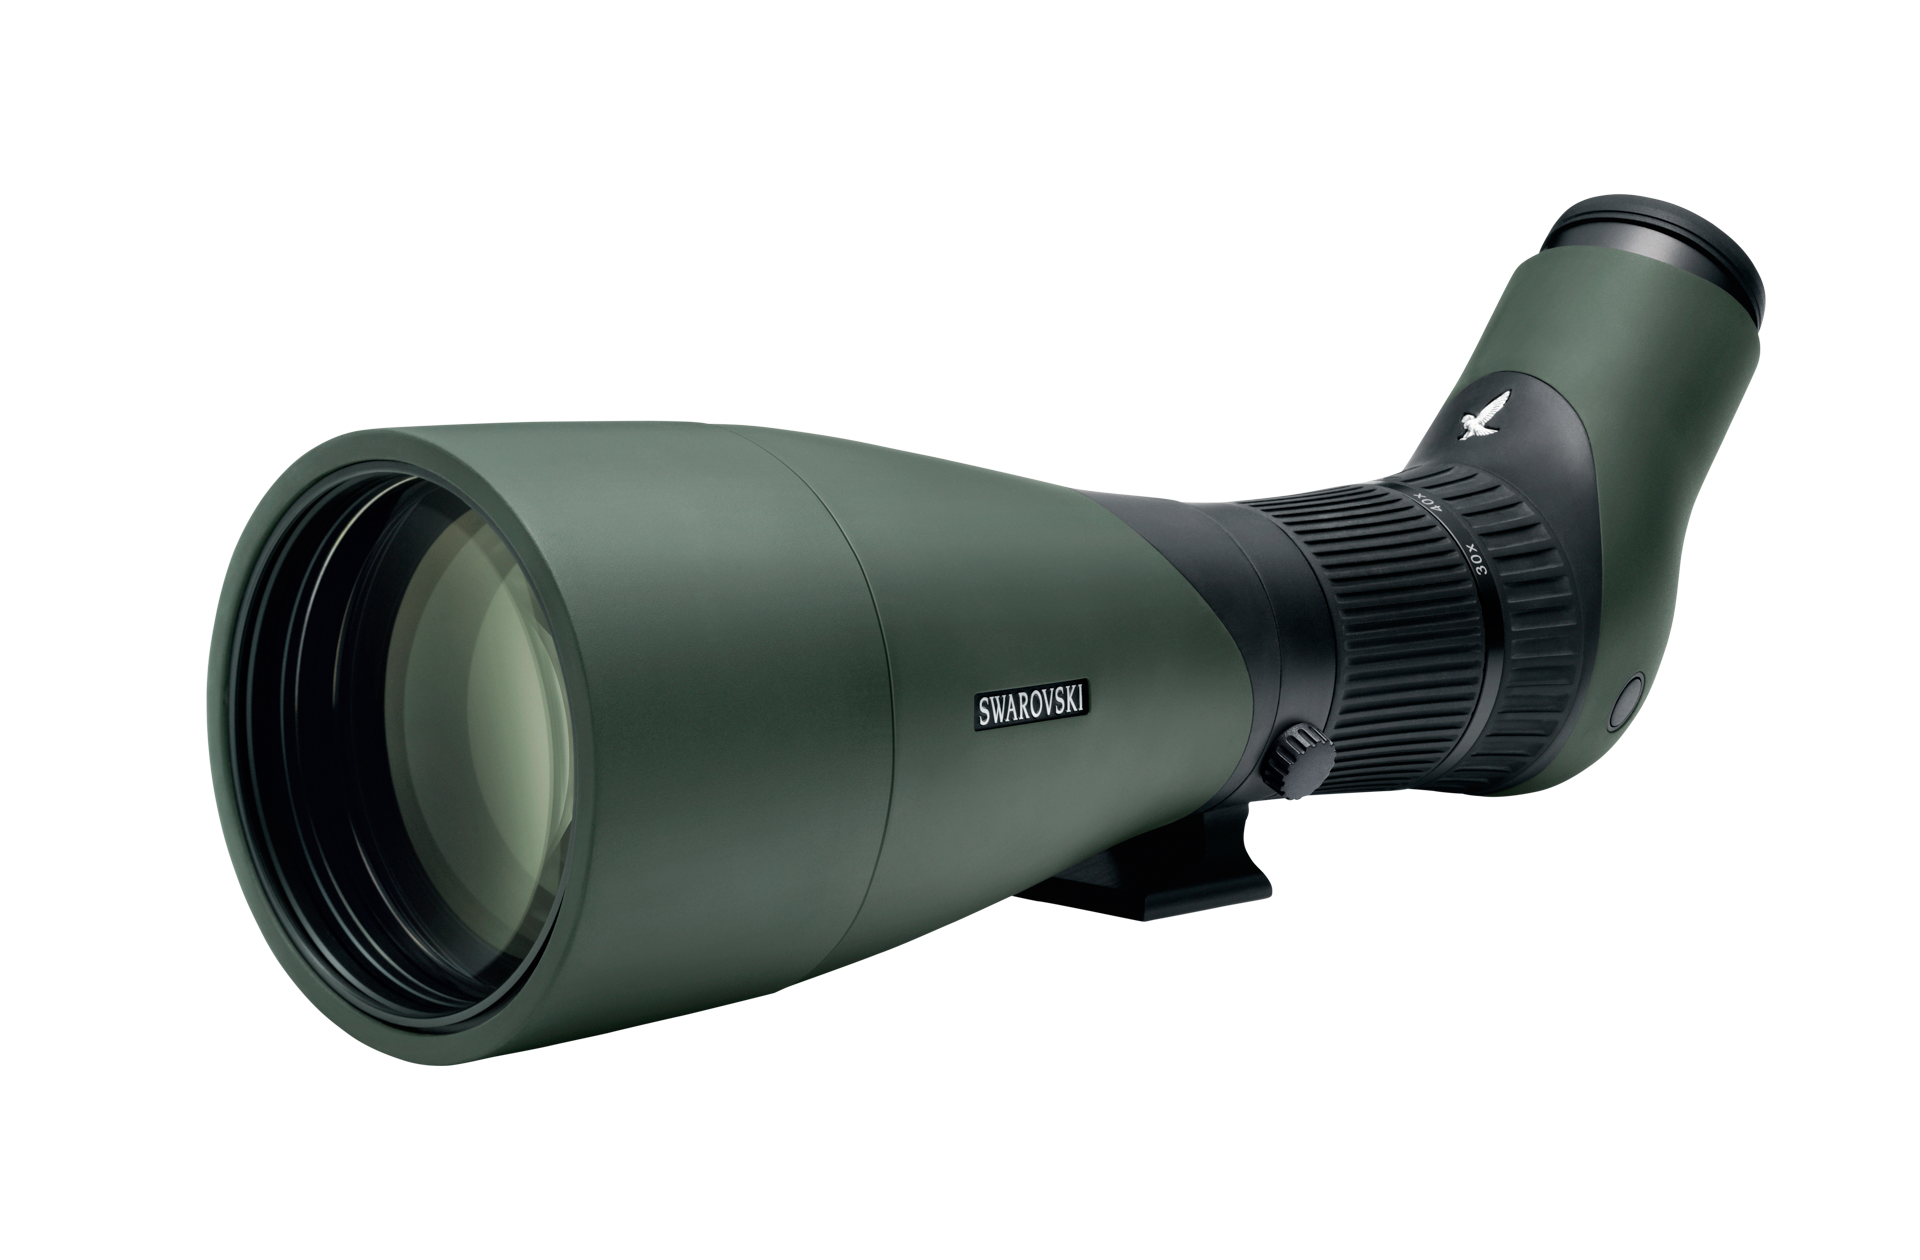
VPA 2 variable phone adapter
With the VPA 2 variable phone adapter, you can connect your smartphone (whether iOS or Android) to your SWAROVSKI OPTIK binoculars or spotting scope in an instant to capture the wonder of nature. The VPA 2 is characterized by its particularly easy handling as well as excellent stability and can be adjusted exactly to the position of your smartphone camera. The VPA 2 must be fixed to the binoculars or telescope with a corresponding clamp adapter.